Hello and welcome to Spotted Dog Quilting Blog! Today kicks off the first tutorials in the Handmade Holidays series. This week we will be making oven mitts and potholders!

Ready to start sewing? I am breaking this up into two tutorials, one for the oven mitt and one for the potholder. Lets start with the oven mitt!
Here is a list of supplies you will need to make 1 oven mitt:

1 Oven Mitt Pattern (this is available for download below)
1/2 yard fabric for the outer pieces
1/2 yard fabric for the inner pieces
1/2 yard of The Warm Company Insul-Bright
20 inches of bias tape (either bought or made)


***To make your pattern, print both "Oven Mitt A" and "Oven Mitt B" at 100% on your printer. Tape the two pieces together matching part A and B. Cut out oven mitt shape to use as a pattern.***
Also, a note about Insul-Bright... There is a "right" side and a "wrong" side to Insul-Bright. One side is more shiny than the other and offers better heat protection. That is the side that we want facing into the oven mitt for better protection. I have taken photos of the Insul-Bright to show you the difference:
 |
| Right Side = More Shiny Side |
 |
| Wrong Side = Less Shiny Side |
First:
Cut (2) 9" x 14" pieces of fabric from the "outer" fabric
Cut (2) 9" x 14" pieces of fabric from the "inner" fabric
Cut (2) 9" x 14" pieces of Insul-Bright
Second:
Layer each set of fabrics in the following order:
1. Inner fabric - right side down
2. Insul-Bright - right (more shiny) side down
3. Outer fabric - right side up
It should look like this, except stacked even on top of each other:

Third:
Pin your fabric stacks together and quilt as desired. This is a great way to practice your free-motion quilting without committing to an entire quilt! I chose loops!

Fourth:
Using the Oven Mitt Pattern, cut your oven mitt from the pieces you just quilted. REMEMBER: YOU NEED TO CUT ONE PIECE AND THEN FLIP THE PATTERN PIECE TO CUT THE OTHER SIDE OF THE MITT. IF YOU DON'T, YOUR INNER FABRIC WILL BE ON THE OUTSIDE! MAKE SURE YOU HAVE TWO PIECES THAT LOOK LIKE THIS:

Fifth:
Now we will add the bias tape to the bottom of each mitt piece. It is best to use your walking foot for this step.
Open the bias tape and align the outer edge of the bias tape with the bottom edge of the mitt on your inner fabric. It should look like this:

Sew using a 1/4" seam.
Refold bias tape to align the middle crease with the bottom of the oven mitt. Fold under the exposed edge of bias tape until your creased edge is folded over and it looks like this from the side:

The front of the mitt should look like this:

Top stitch the front of the bias tape to the front of the mitt and trim the excess bias from the ends of each side of the mitt. You should now have two pieces that look like this:

Sixth:
Match pieces so that the inner fabric on both sides is facing out/the outer fabric is on the inside:

Seventh:
Sew around 3 outer sides, leaving the bottom open. Backstitch at both ends.

Eighth:
Clip curves and thumb joint.
Ninth:
Turn right side out and voila!!!
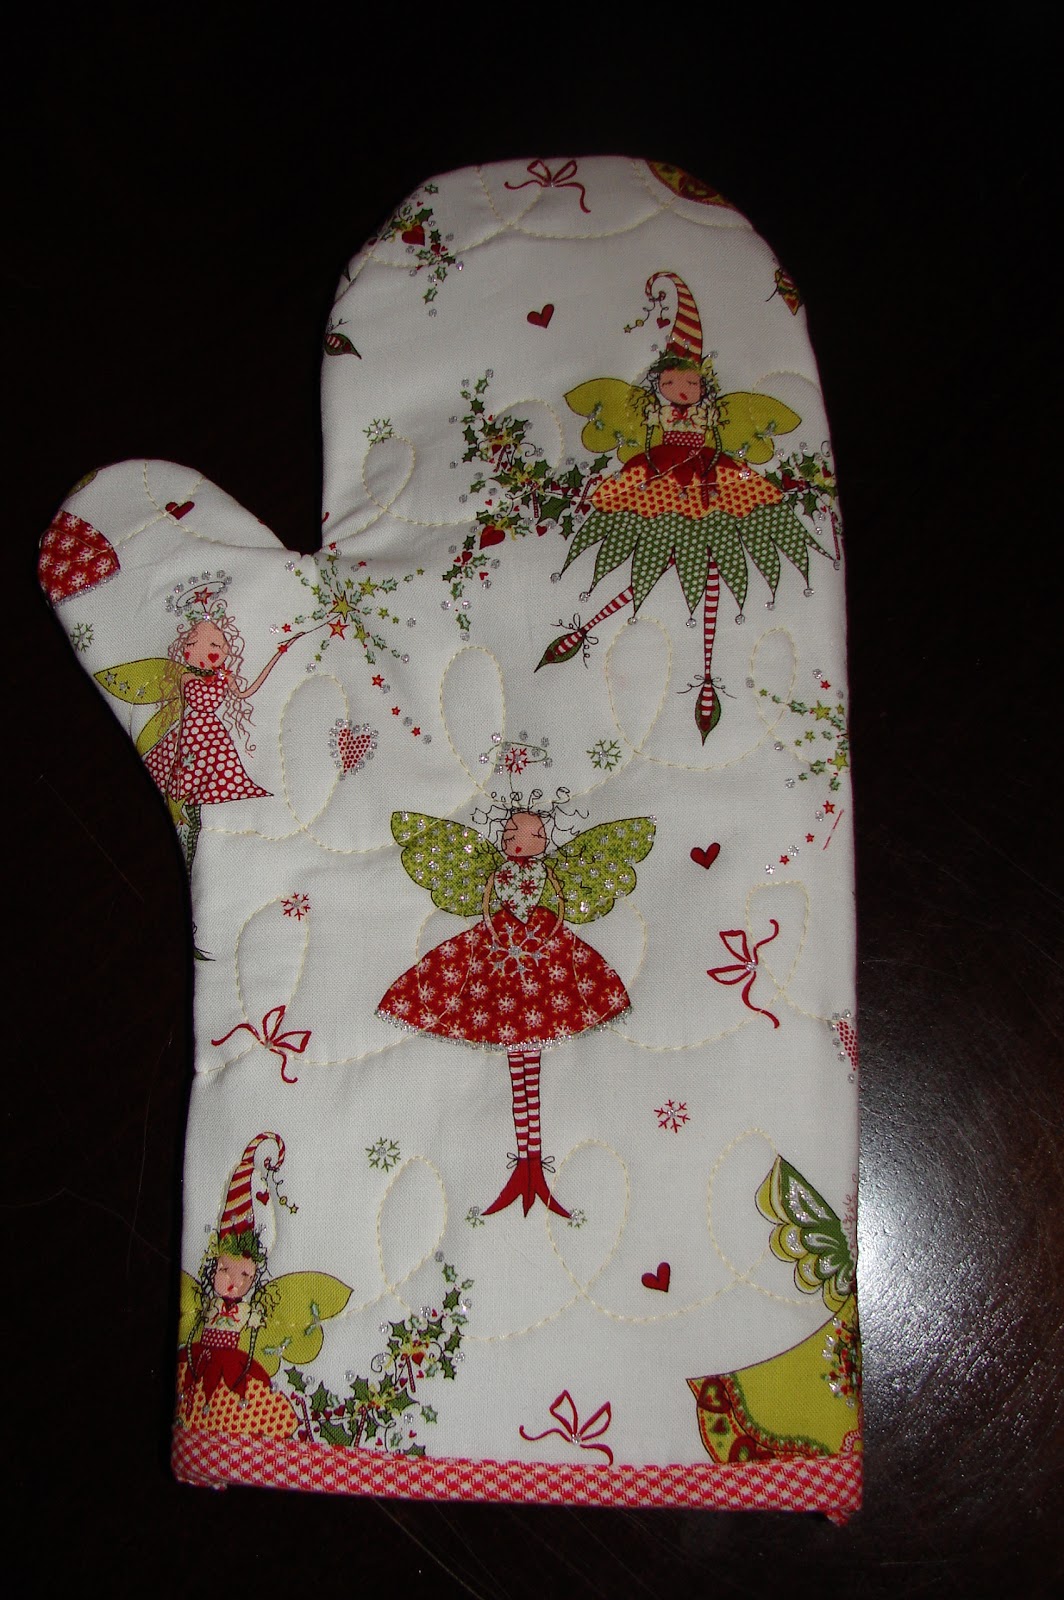
NOW ON TO THE POTHOLDER!!!
Here is a list of supplies that you will need to make one potholder:
(1) 9" x 9" Piece of Insul-Bright
(1) 5" x 5" Piece of Fussy Cut Fabric for the center of your potholder
(4 or more) Pieces of scraps to accompany your focus fabric *scraps should be wide enough to go to the edge of the Insul-Bright. Make sure to include seam allowance.*
(1) 9" x 9" Piece of Backing Fabric
We are going to be using the Quilt-As-You-Go Method for making these potholders. A walking foot will work best for this project.
First:
Position your Fussy Cut Fabric onto the right (shiny) side of your Insul-Bright:

Second:
Place your 1st scrap (right side down) to your Fussy Cut Fabric and sew, using a walking foot and a 1/4" seam directly on to the Insul-Bright:

Third:
Once you have sewn your scrap, open the seam and iron:

Fourth:
Repeat with your 2nd, 3rd and 4th scrap:


Don't worry if the scraps overhang off of the Insul-Bright, we will trim those!
Your potholder should now look something like this:
 |
| Front View |
 |
| Back View |
Fifth:
Trim the excess off from the edges of the potholder so that they now match the 9" x 9" size of the Insul-Bright that they are sewn to:

Sixth:
Make sure that your piece of Backing Fabric is the same size as your potholder top. If it is not, trim them to match each other:

Seventh:
Place your Backing Fabric (right side down) on top of your potholder (right side up):

Align these so that all edges of the top and bottom line up. Pin the two layers together.
Eighth:
Sew, using 1/4" seam, around the perimeter of the pot holder, leaving a 3" space on one side unsewn for turning the potholder right side out.
Carefully clip all corners and turn right side out using the unsewn area as your turning hole.
When you have it right side out, it should look like this:

Ninth:
Iron flaps from the opening inside on themselves like this:

Pin the hole closed, encasing all of the raw edges of the two sides of the potholder:

Tenth:
Topstitch along the edge, catching the opening and sewing it closed.
Trim your threads and voila!!!!
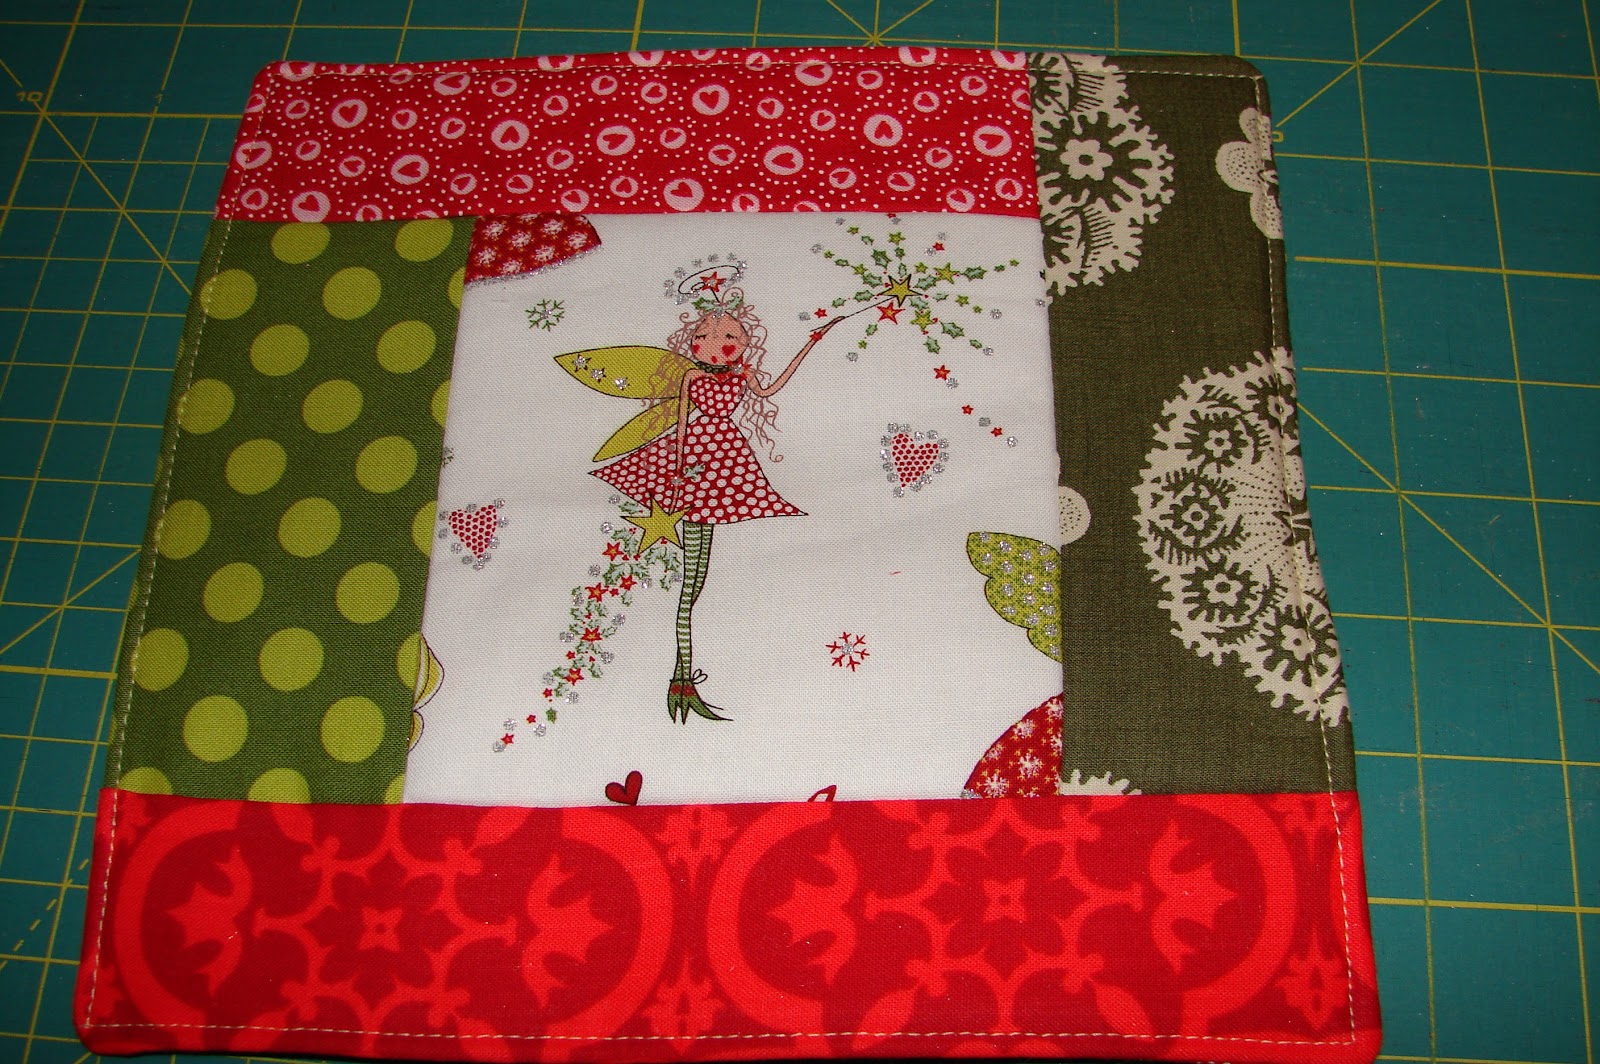
I hope that you all enjoyed these tutorials! If you make either of these, please let me know, I would love to see them!!!
NOW FOR THE GIVEAWAY!
Would you like to have some Insul-Bright for yourself so that you can make these products?

Leave me a comment about your favorite Christmas memory and you could be a winner! You must be a follower of Spotted Dog Quilting Blog to win. I will pick a winner at 5pm EST on Wednesday, November 7th! Good Luck!


